
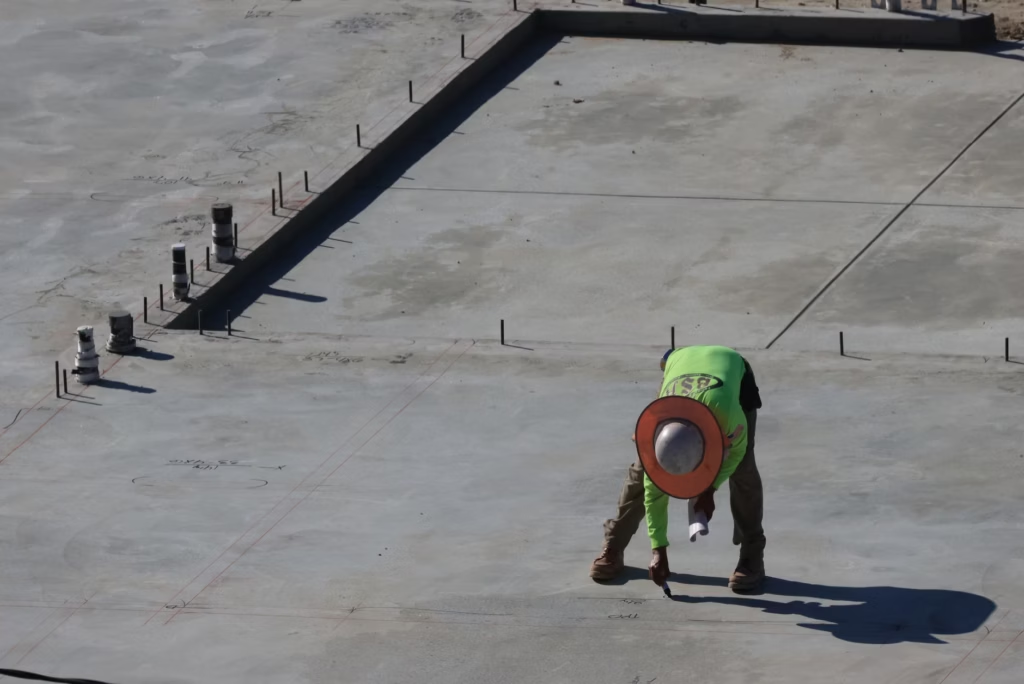
You pull into the driveway on a July afternoon and the slab is hot enough to shimmer. Come January, that same panel is cold-soaked overnight, then it catches sun on one edge while the rest stays in shade. That push and pull is normal here. What isn’t normal is the crack that shows up right through the middle of the parking area because there was nowhere else for the concrete to “decide” to crack.
We see it all the time on driveways that were poured as one big sheet, or where the joints were cut late, or where the joint layout ignored the shape of the slab. Concrete shrinks as it cures. It also moves with temperature. Joints are how we tell that movement where to go. Done right, they look clean, they stay tight, and they keep random cracking from stealing the show.
Control joints: how we place them so cracks land in the groove
Control joints are planned weak lines. They do not stop cracking, they control where it happens. For a typical 4 inch driveway slab, our layout starts with panel sizes that behave (see do Albuquerque driveways need rebar and a thicker slab). As a rule, we keep joint spacing in the neighborhood of 8 to 10 feet on a driveway, and we try hard to avoid long skinny rectangles. A panel that’s twice as long as it is wide is asking for a diagonal crack.
Depth matters. For saw-cut control joints, we cut to one quarter of the slab thickness (see ACI). On a 4 inch slab, that is a 1 inch cut. Too shallow and the slab ignores it. Too deep and you weaken the panel more than you need to.
Placement follows stress points. We run joints off the inside corners of returns, steps, and garage slabs. If you have a flare at the street, a curve, or a widened parking pad, we break that shape into panels that look intentional. Concrete hates re-entrant corners. If we leave an “L” shape without a joint, it usually answers back with a crack from the inside corner.
Expansion joints: where we separate slabs so they don’t shove each other
Expansion joints are different from control joints. They are full-depth separations that let two slabs move independently. On driveways, we use them where the concrete can push against something that does not move, or should not be forced to move.
The common spots are:
- Against the garage slab. We do not want the driveway panel jacking the garage edge during heat and then pulling away in winter (related: why Albuquerque driveways sink at the garage and what fixes it).
- Against stem walls, porch slabs, and masonry where a bonded edge can spall.
- At the sidewalk or city approach if there is an existing slab you are tying into.
Material counts. We use a compressible filler, typically 1/2 inch pre-molded expansion joint material or a quality foam expansion strip depending on the detail. It needs to run the full depth of the slab, not just sit near the top.
In Albuquerque, NM, big temperature swings are routine (see NOAA). Without a real separation joint at fixed structures, the driveway has two bad options: crush at the edge (spalling) or crack out in the field. A proper expansion joint gives it a third option, move quietly.
Cutting timing: why “same day” matters in summer and “next morning” can be too late
The best joint layout in the world won’t help if the cuts go in after the slab has already started cracking. Timing is the whole ballgame.
On a warm, dry day with wind, concrete can set up fast. We plan saw cutting so we are ready as soon as the slab can take it without raveling. For most driveway pours, that window is within 4 to 12 hours after finishing, depending on mix, sun, and temperature (seasonal planning helps too, see best time of year to pour a concrete driveway in Albuquerque). If the slab is getting baked, it can be on the early side. If it’s cool and shaded, it can be later.
There are two common ways to do it:
Early-entry saw cuts
An early-entry saw lets us cut sooner, which helps on hot days. The goal is a clean groove before shrinkage stress builds.
Conventional saw cuts
With a standard wet saw, we wait until the surface is hard enough that the blade won’t tear aggregate out of the edges. If you see ragged joint walls, that cut was early or the blade was wrong for the mix.
Waiting until “tomorrow” sounds harmless. It isn’t. Random cracking often shows up overnight because the slab is shrinking while the top is cooling.
Sealing joints: keeping water and grit out without trapping moisture
Joints are supposed to move. That movement drags in grit, sand, and water. Once the joint packs full of debris, the slab can’t close back up, and you start seeing edge chipping. Sealing is how we keep the joint doing its job.
We do not seal joints the day we pour. New concrete needs time to hydrate and dry. A good rule is to let a driveway cure, then seal joints after the slab has had time to settle down. For many residential slabs, that is after about 28 days of curing (see Portland Cement Association). Some sealants and situations call for longer, especially if the slab is still holding moisture.
For joint sealant, we use products made for concrete movement, not a paint-store caulk. A polyurethane or polyurea joint sealant is common on driveways because it handles movement and abrasion.
Prep is what makes it last. We clean the joint, get the dust out, and use backer rod so the sealant bonds to the sides of the joint, not the bottom. If you bond three sides, the sealant tears as the joint cycles.
Matching the driveway shape: garage aprons, side gates, and parking pads
Most driveways aren’t perfect rectangles. They have a garage apron that widens, a side gate spur, a walkway tie-in, or a second parking strip. Joint layout has to follow that geometry or you end up with random cracks that look like lightning.
We lay out joints so panels are close to square. If a driveway widens near the garage, we do not run one joint straight up and call it good. We “step” the joints so the widened portion becomes its own panels, and we carry joints across the slab so they line up. A joint that dies into the middle of a panel creates a weak point and a future crack.
At inside corners, we add a joint that runs out from the corner at 90 degrees to relieve stress. This is one of the most repeatable failure modes we see: a tight inside corner at a walkway connection that cracks diagonally within the first season.
We also pay attention to drainage. If the driveway is sloped to a drain or away from the garage, we set joints so water is not guided into the garage edge. Joint grooves can act like little channels if you aim them wrong.
Reinforcement and joints: what rebar and fiber do, and what they don’t
Reinforcement is not a substitute for joints. It helps hold cracks tight and reduces vertical separation, but it does not prevent cracking. Concrete shrinks. It is going to crack somewhere. Our job is to make that “somewhere” predictable.
On driveways, we commonly use steel rebar or welded wire reinforcement, and sometimes synthetic fiber in the mix (more detail here: concrete driveway construction deciding on thickness and reinforcement). Each has a role. Steel helps keep cracks from opening up and reduces the chance of one side lifting relative to the other. Fiber helps with plastic shrinkage cracking right after placement, especially if the surface is drying fast.
Here’s the key detail: reinforcement has to be in the right place. If steel ends up on the bottom of the slab because it was not chaired up, it does not do much. We support it so it sits in the upper half of the slab where it can work.
Even with reinforcement, we still cut control joints at the right spacing and depth. Otherwise the slab makes its own joints, and they rarely land where you want them.
Edges and transitions: how we detail joints at sidewalks, curb cuts, and existing concrete
A lot of driveway problems start at the transitions. Old concrete, new concrete, sidewalk panels, and curb cuts all move a little differently. If you tie them together wrong, one of them pays for it.
Where we meet existing concrete, we decide whether we are isolating or tying in. If the existing slab is stable and we need load transfer, we can use dowel bars drilled and epoxied into the edge, typically 1/2 inch diameter steel at a consistent spacing. That keeps panels from rocking under vehicle loads. If movement is expected, we isolate with an expansion joint material instead.
At sidewalks and approaches, we line up joints with the existing joint pattern where we can. A joint that lines up tends to behave. A joint that misses by 6 inches tends to crack the smaller piece.
Edge thickness and support matter too. If we have a driveway edge that is exposed, we pay attention to compaction and base support so the edge does not settle and open up the joint. In freeze nights followed by sunny days, a poorly supported edge is where you see the first spalls (related: why Albuquerque driveways start flaking and what we do to stop it).
Key Takeaways
- Saw-cut control joints need depth, about 1/4 of slab thickness (a 1 inch cut on a 4 inch driveway).
- Keep joint spacing reasonable, often 8 to 10 feet, and avoid long skinny panels.
- Use true expansion joints, often 1/2 inch filler, where the driveway meets the garage slab, walls, or other fixed concrete.
- Cut joints on time, commonly within 4 to 12 hours after finishing, before shrinkage cracks start.
- Seal joints after curing, often around 28 days, using backer rod and a concrete-rated polyurethane or polyurea sealant.
Conclusion
A driveway can look perfect on day one and still be headed for random cracking if the joints were treated like an afterthought. Joint layout is where we earn the clean lines. It takes a tape measure, a straightedge, and somebody who’s thinking about where the slab wants to move in July heat and in a cold snap.
If you’re planning a Concrete Driveway Installation in Albuquerque, NM, we’ll walk the driveway with you and lay the joints out before we place concrete. We’ll talk through the garage edge, the sidewalk tie-in, and any odd shapes, then we’ll cut on schedule and seal it the right way. That’s how you get a slab that behaves for the long haul.
References
- American Concrete Institute (ACI): concrete standards and jointing guidance. https://www.concrete.org/
- NOAA: Albuquerque climate normals and temperature swing data. https://www.noaa.gov/
- Portland Cement Association: curing basics and why 28-day strength is the benchmark. https://www.cement.org/learn/concrete-technology/concrete-construction/curing-in-construction